


About

Easily exciteable
Texture
Cat lover
Halloween Guy
Book sniffer
Seamstress
Failed housewife
Popular Posts
-
 As you know (all three people out there reading this! Hi I love you all!!) I've been somewhat steadily working my way through a Craftsy ...
 -
 I have decided to start a blog. I'll use this blog to talk mainly about my sewing progress. I figure if I have to remain accountable to...
 -
 I unintentionally took a blogging hiatus... I've been super busy lately fnishing up this beastly class in school. I could spend paragrap...
 -
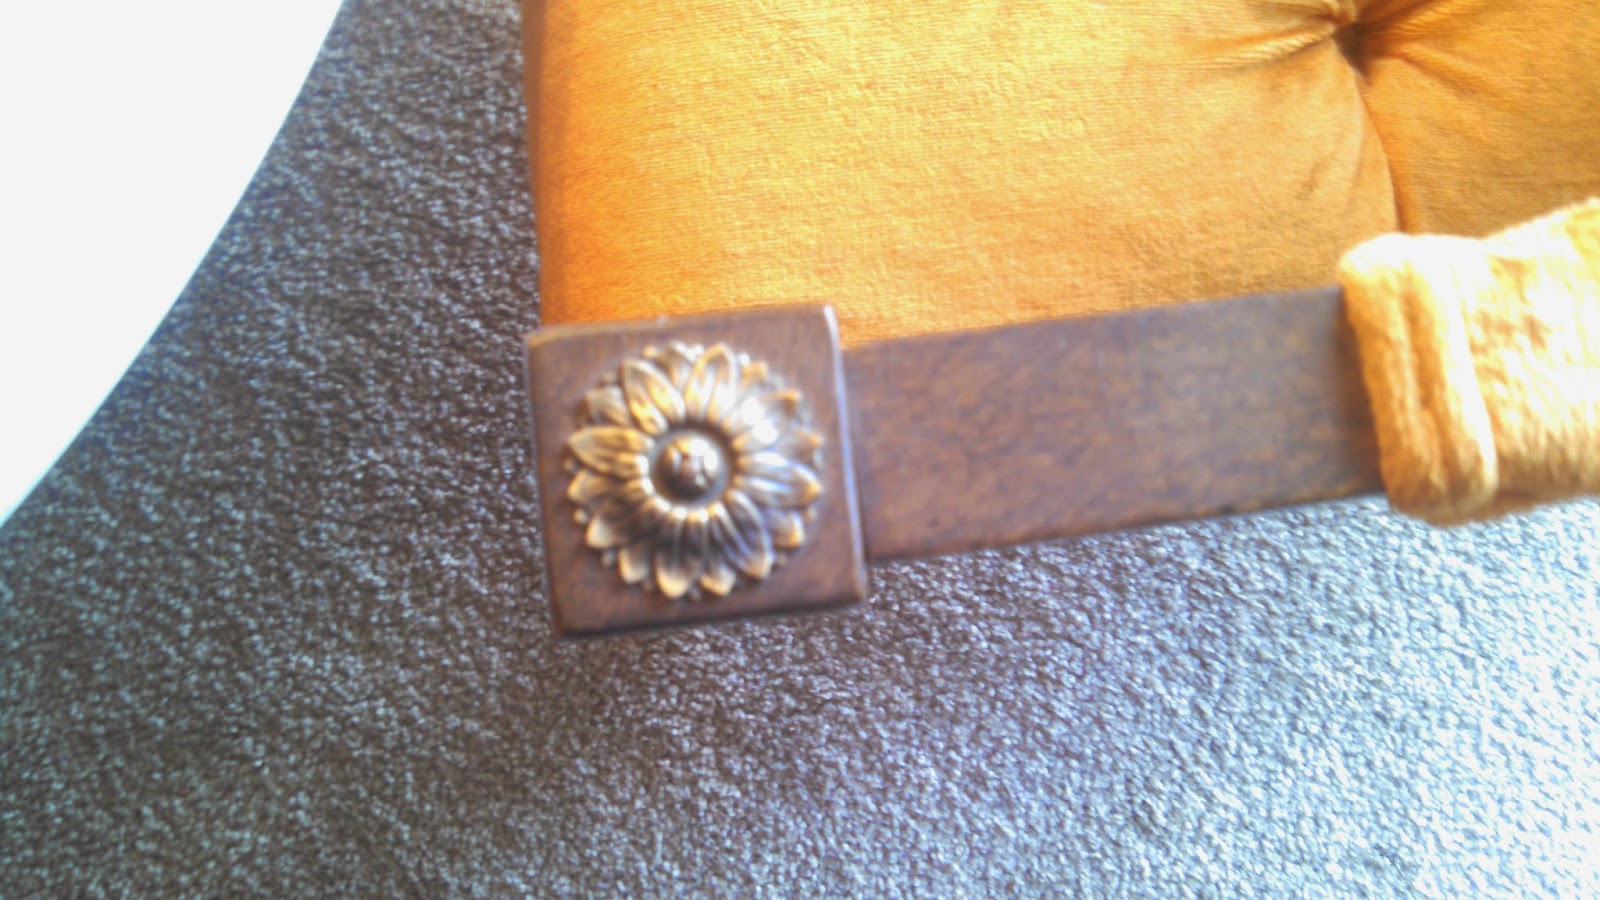
 Last summer I had one of my greatest estate sale finds ever. I know I said the same thing about the mid-century club chairs but this was pr...
 -
 The "Walk-Away Dress" had been on my list of things to make for quite some time. This reproduction pattern from Butterick (B4790) ...
 -
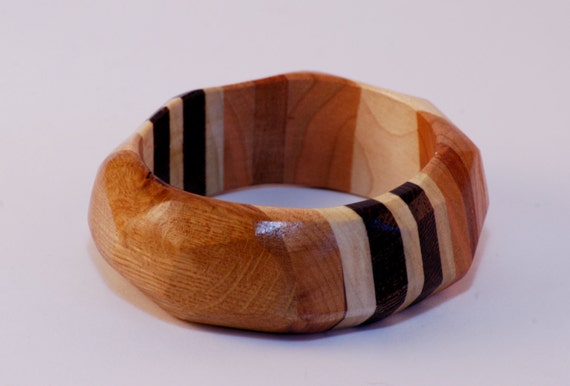
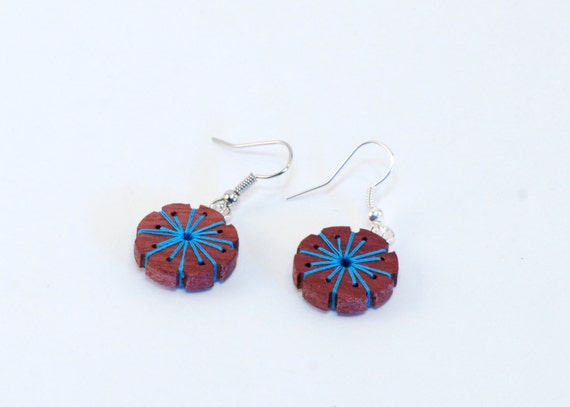
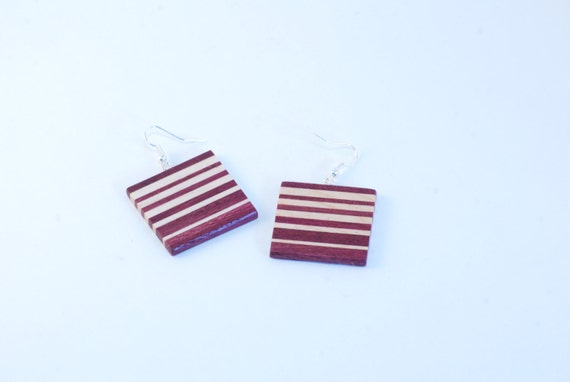
 Oh my goodness it's been FOREVER! We've been up to so so much at the E. appartment this summer, making jewelery, garage saling, ho...